Essential Tips for Using Pottery Throwing Ribs

My Best Tips for Using Profile Throwing Ribs
Before we get started, I’ve filmed an ‘in real time’ demonstration to go with this blog post, so if you’d like to jump straight to the video you can find it on the link below.

My pottery throwing ribs are one of my best sellers on Etsy and indeed there are a vast array of rib profiles out there to choose from, but I have had several beginner potters ask what they are for and how you use them.
So if you struggle to use profile ribs, hopefully this will help. I’ve also done a real-time video demonstration over on my YouTube channel here.
This post is all about, not just how I use them, but why I use them to support my making.
A rib refines — it doesn’t create
This is the big thing I want you to take away:
A rib finesses your pot — it doesn’t make it for you.
If you try to force a rib to create a shape that your hands don’t already have under control, you’ll more likely distort the pot, knock it off centre or thin the walls in weird ways.
I throw the basic shape with my hands first — it’s the foundation. Once the form is roughly there, that’s when the rib becomes helpful: smoothing, refining, and cleaning up. The rib is used at the final stages of wheel throwing.
Why I Reach for Ribs (Here’s the Honest Reason)
I’m not naturally brilliant at throwing the exact same shape over and over. I’m not a production thrower and don’t have a desire to be, but sometimes I find it necessary to have consistent forms.
I often decorate pots using my own screen printed underglaze paper transfers. If each pot was totally individual, it would take me longer to mark out and cut my transfers to fit. However, if I knew the pot’s angles and profiles are consistent (or as close to the consistent as possible with handmade items) then I can create a master cutting guide which can be used over and over. Saving me a lot of time.
So, ribs aren’t just a “nice to have” tool — they help me make repeatable shapes that work reliably with my decorating process.
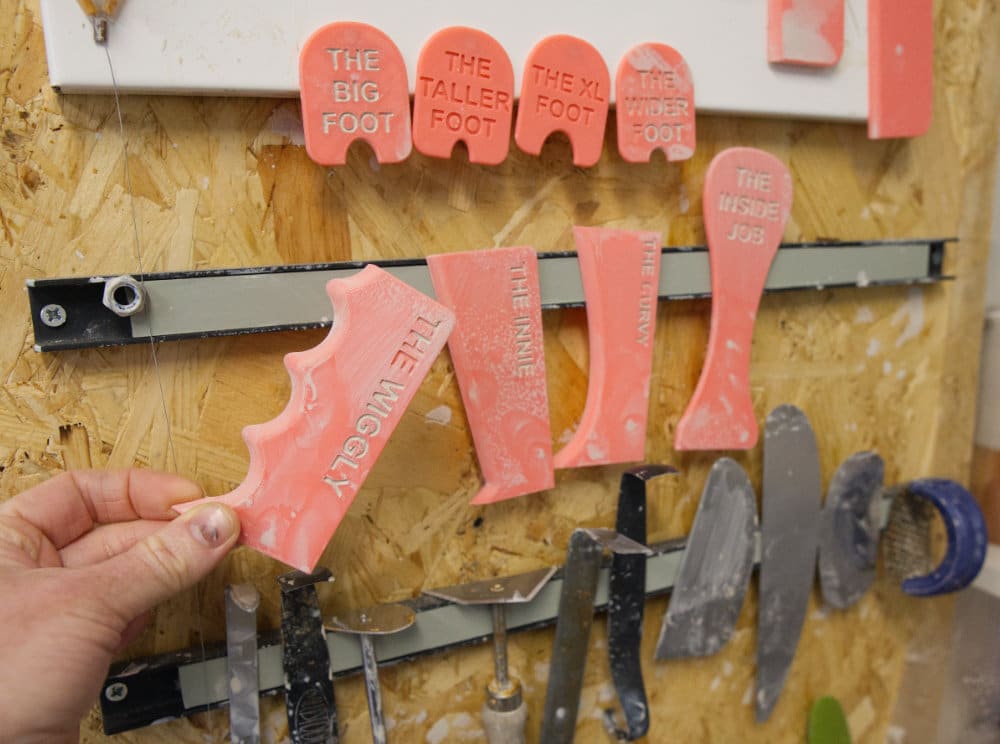
That’s actually why I designed the set of ribs I use myself — not for speed, but for consistency.
The tutorial:
Throwing an Inward-Facing Mug Form

Using The Innie Rib
For the simple inward-facing rib (using The Innie), I start with about 600g of clay and throw a profile that’s slightly wider at the base than the top — because the final form narrows inwards.
Here’s what I focus on before even touching the rib:


- fast wheel, slow hands when centering and opening
- a well-compressed base
- a smooth base-to-wall transition – so the inside of my pot is as nice as the outside!
- inside hand a little lower than the outside, as I pull the walls up.
- ensure the walls are of even thickness from base to rim
- get the clay to roughly to the size and shape I want the final pot to be (remember your clay will shrink during firing so always make it about 10% bigger than you want your final item).
Only once the shape is close to the desired shape do I bring the rib in.
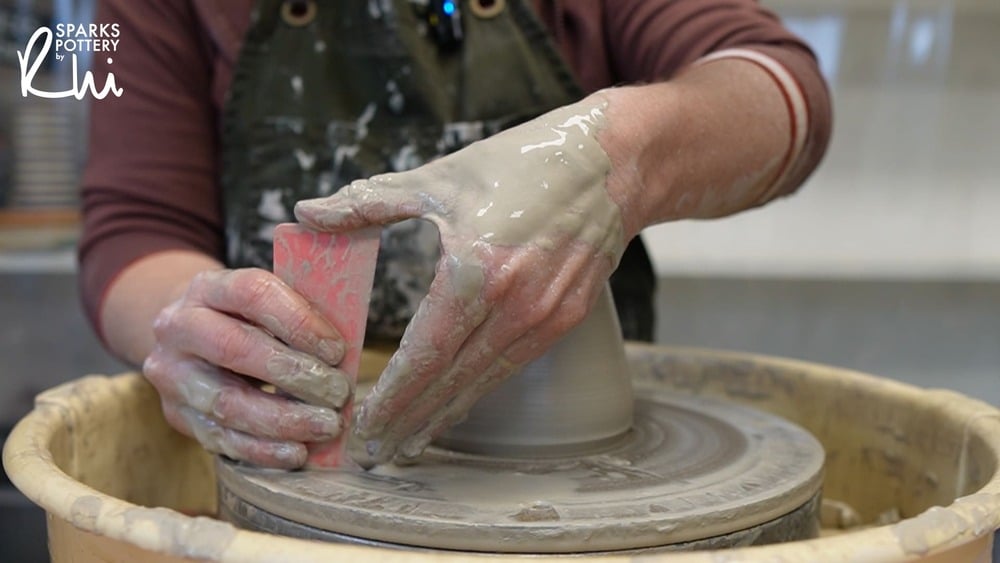
How to hold the rib

- clamp it comfortably in my right-hand
- anchor my right arm against my body
- Have the flat base of the rib resting on the wheel or batt
- keep both hands connected like I would normally when throwing
- use my inside left hand to gently and slowly push the clay out towards the rib – imaging you inside finger is running up the edge of the rib.
- as your inside hand reaches the rim of the pot, pause here to give the clay extra time to stretch into position.
- it usually takes about 2 passes.

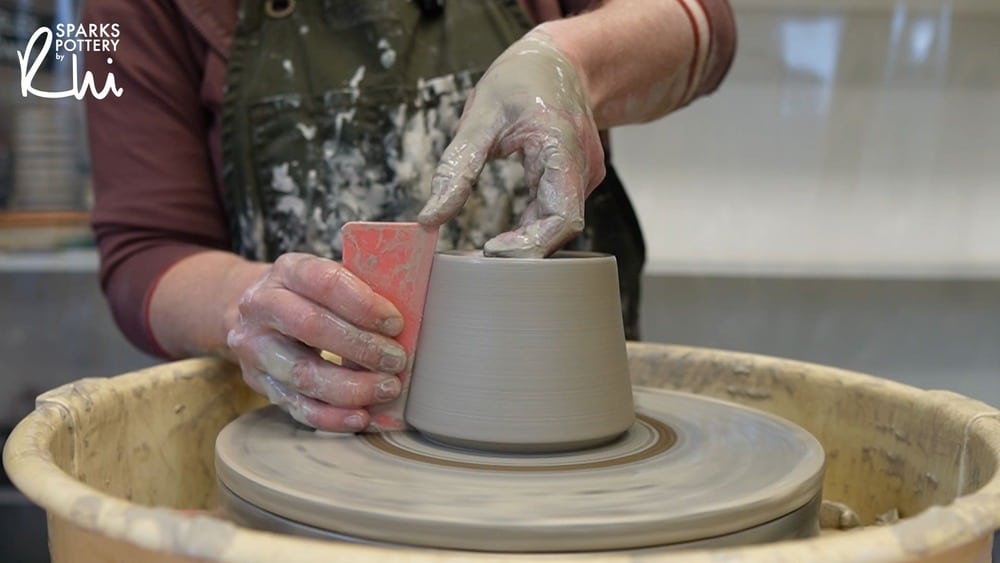
No forcing, no wrestling — just calm refinement as the clay reaches and settles into its final position.
Using a Curved Rib for Softer Profiles

Using The Curvy Rib
The Curvy rib is forgiving, but it does ask for a little more awareness, especially near the base where walls can get thin. Start with 600g of clay again until you get a feel whether this is right or not for your throwing style.
The main principles are the same for all ribs, but for this particular shape I also:
- keep the base slightly wider and a bit thicker
- throw a gentle bowl-like transition at the base of the pot
- “bulb out” the form first, then bring it back in – to form the basic shape by hand.
To “bulb out” the form, a simple shift I make here is changing which hand leads depending on whether I’m pushing the clay outwards or pulling it in. That one small shift makes a huge difference. For the bulbing out, my inside hand (left) is more forceful than my outside hand


And just like before: I let my hands do most of the shaping first, then bring the rib in slowly — with the clay meeting the rib rather than me trying to push the rib into the clay.

Remember the rib finesses the shape that we have thrown.
More Advanced Rib Shapes — Patience Is Key

Using The Wiggly Rib
The most complex and advance rib in my collection is The Wiggly. This one is lovely, but it definitely rewards patience and needs practice!
Here’s what I do with it:
- keep the walls a much thicker than I normally would
- throw a straight, even cylinder first


Instead of pushing the rib into the clay (which can cut through), I gently coax the clay outward with my hands until it meets the rib’s contours.
I work section by section — bottom, middle, top — and always do multiple passes rather than try to get the finished shape in the first pass.


When (and Why) I Actually Use Ribs
I don’t use ribs on every pot I make, there is no need to and sometimes I prefer a more natural hand formed shape.
But I do reach for them when:
- I want more consistency
- I’m making sets
- I need repeatable shapes for decoration
- I want to streamline the process (I’ve designed all my ribs to have a foot, which means there is no trimming/turning unless you want to!)

For an added bonus, when using ribs it’s much easier to throw to a consistant height as you can either throw to the top of the rib each time or you can mark your height using a marker pen. No need for fancy equipment!
If you’d like to see the full throwing process in action, you can watch the video here:
On a different note…
One Studio Change That’s Actually Been Super Useful
At the end of the video I show my magnetic tool wall — and honestly, it’s one of my favourite little upgrades in my new studio.
All my ribs have magnets in them, so they live right there on the rack with metal kidneys and trimming tools. No rummaging for tools. No messing up everything trying to find the one thing I need.
It’s tiny, but it makes the whole throwing process feel calmer and more focused — and that’s always worth it. It also makes cleaning up after a throwing session easier!
….
I hope this helps demystify ribs a bit — and makes them feel like a supportive tool rather than something that gets in the way or causes your pots to go off centre.
Thanks so much for watching — and for reading!
Rhiannon